back TTN 474

 Stations
 Gerolstein Bf
including workshop
 Gerolstein Basalt Awanst
 Birresborn Bf
 Muerlenbach Hp
 Densborn Bf
 Usch-Zendscheid Hp
 St. Thomas Bf
 Kyllburg Bf
 Bitburg-Erdorf Bf
 Huettingen Hp
 Philippsheim Bf
 Speicher Bf
 Auw an der Kyll Bf
 Daufenbach Bf
 Kordel Bf
 Ehrang Bf
 Pfalzel Hp
 Trier Hbf Bf

 Tunnel
 Dechen-Tunnel
 Kyllburger Tunnel
 Wilsecker Tunnel
 Mettericher Tunnel
 Philippsheimer Tunnel
 Friedrich-Wilhelm-Tunnel
 Loskyller Tunnel
 Heinzkyller Tunnel
 Kyller Tunnel
 Kuckuckslay-Tunnel

 
Diese Seite auf Deutsch

Gerolstein Basalt Awanst
Photos


Gerolstein Basalt, Photo 1
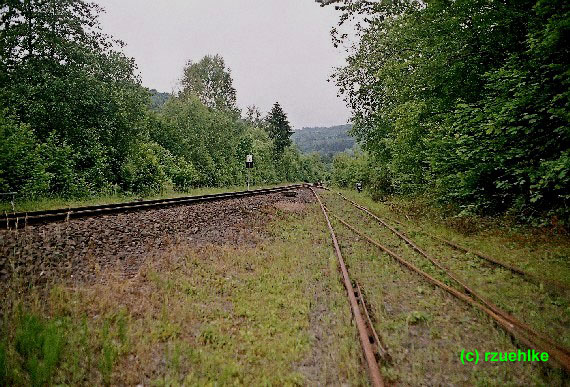
View to the switch of refuge siding at track kilometer 106,4 and on the first switch that is operated manually.
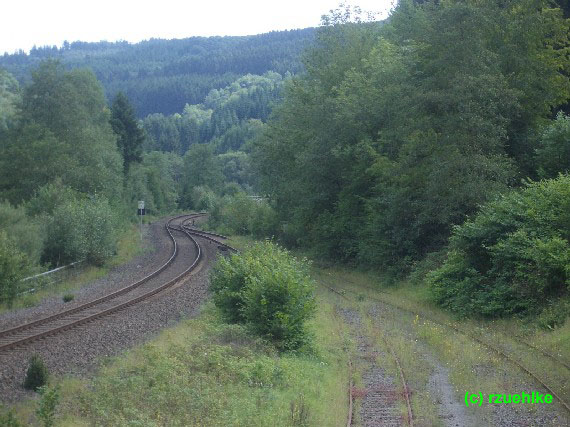
 

Gerolstein Basalt, Photo 2
View from above
 

Gerolstein Basalt, Photo 3
This seems to be the view the driver of a loco has, when he is coming down into the siding. In the foreground the first switch operated manually.
 

Gerolstein Basalt, Photo 4
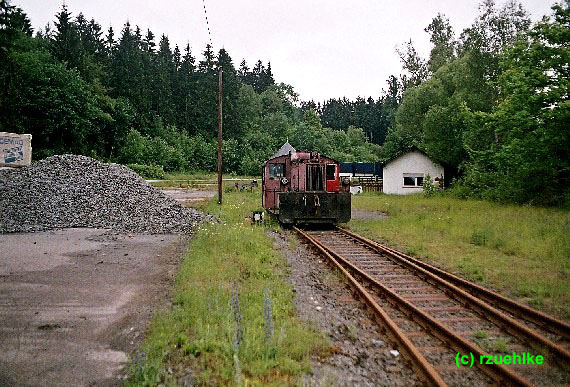
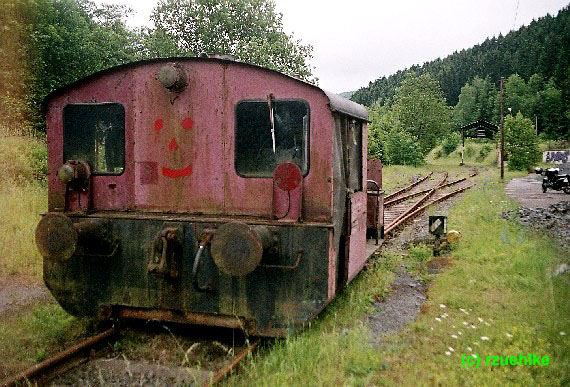
At the end of the refuge siding a loco called Koef is waiting for the hangman, in fornt of it the second switch operated manually to change the loco to the other end of the waggons.
 

Gerolstein Basalt, Photo 5
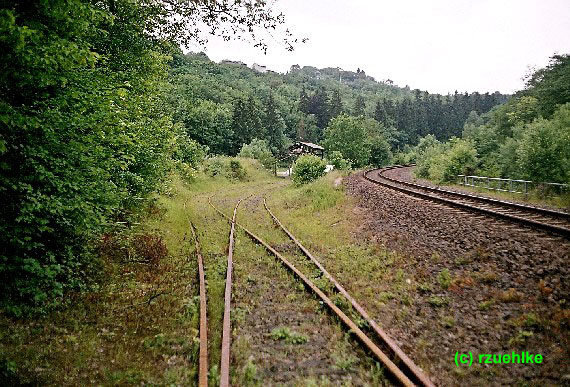
View from the end of the refuge siding, on the right the loading facilities.
 

Gerolstein Basalt, Photo 6
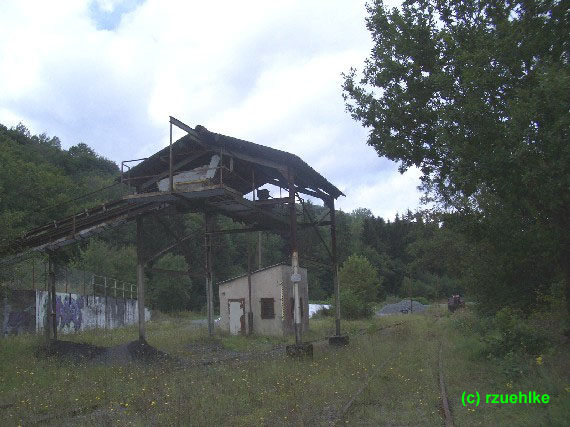
The loading facilities in full size
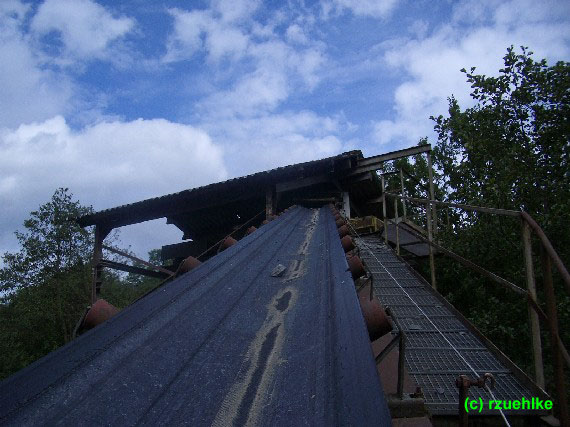
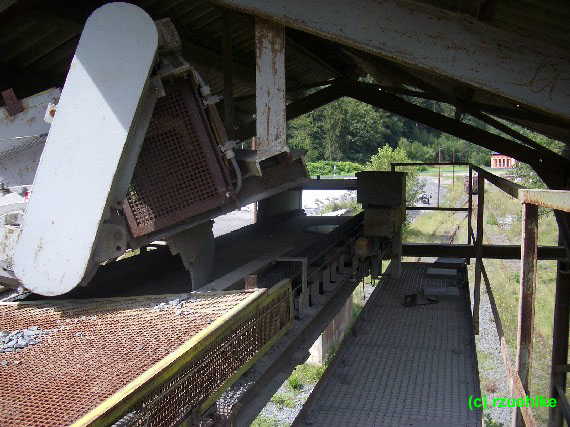
 

Gerolstein Basalt, Photo 7
The conveyor belt
 

Gerolstein Basalt, Photo 8
The superstructure of the loading facilities
 

Gerolstein Basalt, Photo 9
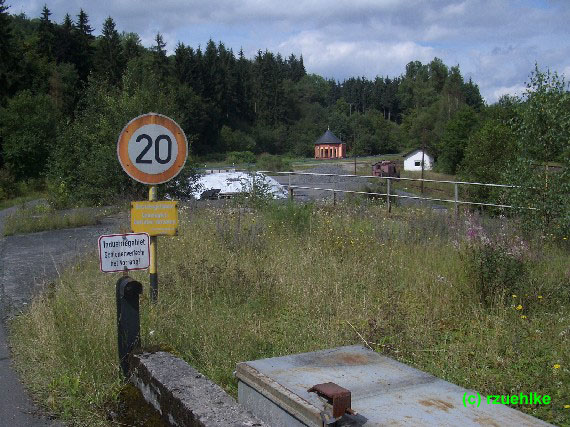
The sign on the left is telling, that rail traffic has priority.


updated: September 12th 2004
created: June 23rd 2004