Daufenbach Bf
Photos
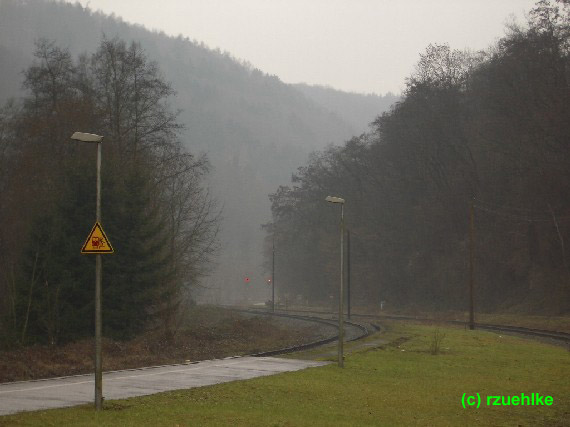
View towards Gerolstein.
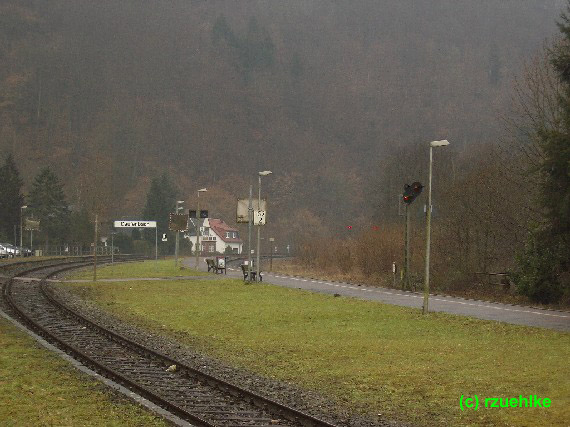
View towards Trier. On the right distant signal repeater for exit signal N3. "3" means, that there were two further tracks, 1 and 2. But currently there is only one track left, with signals N2 and P2.

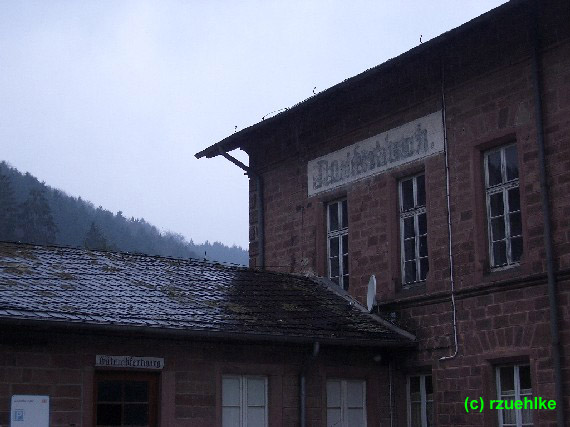
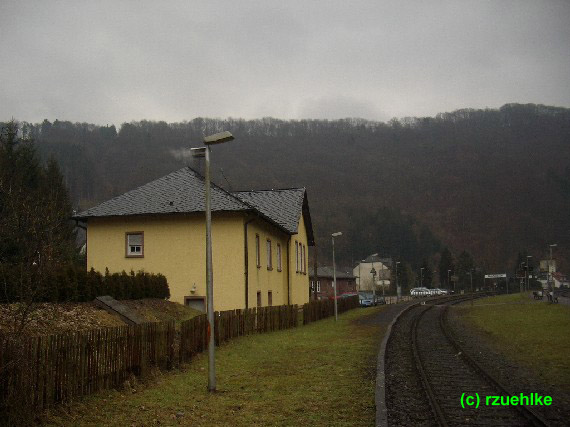
Station building with signal box in front. Track 1 was maybe at the place, where the silver coloured cars are parking. It had a junction to the dead end track for the freight shed, which is on the right to the station building. You can see clearly the ramp and the gate.
Backwards there are further details of the former goods station.
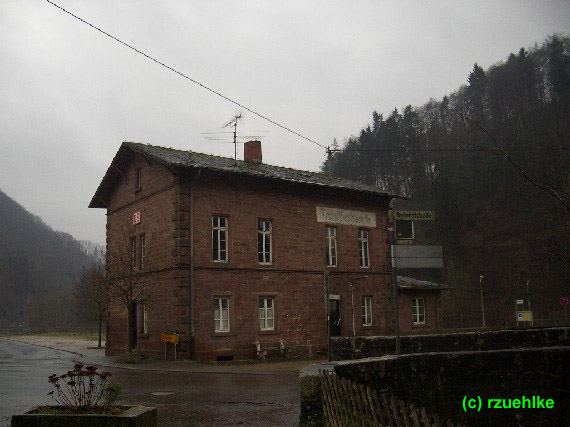
View from the main road to the station building.
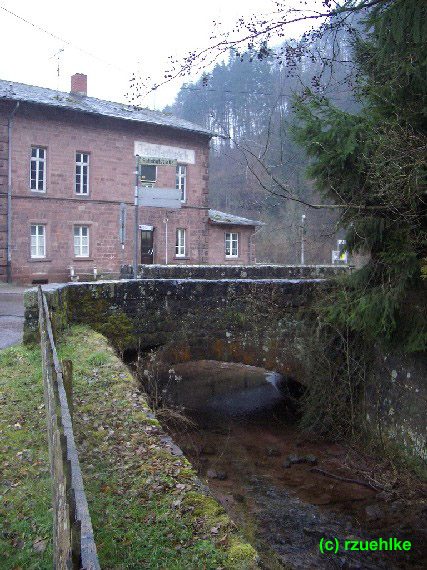
Gave not the name to the village: the 'Grundsgraben' flows directly near the station into the river Kyll.
Another relictic possibility for loading goods to the train: the building is coloured yellow and by now a dwelling house, but also had a dead end track and an own ramp.
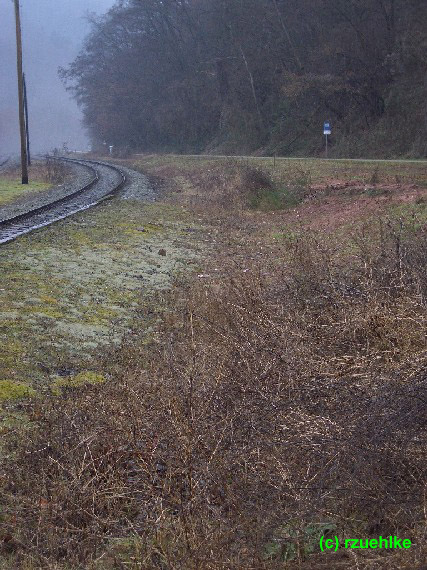
The shrubbery is growing, where track 1 was before. In the background there was junction 3.
updated: February 23rd 2005
created: June 23rd 2004
|